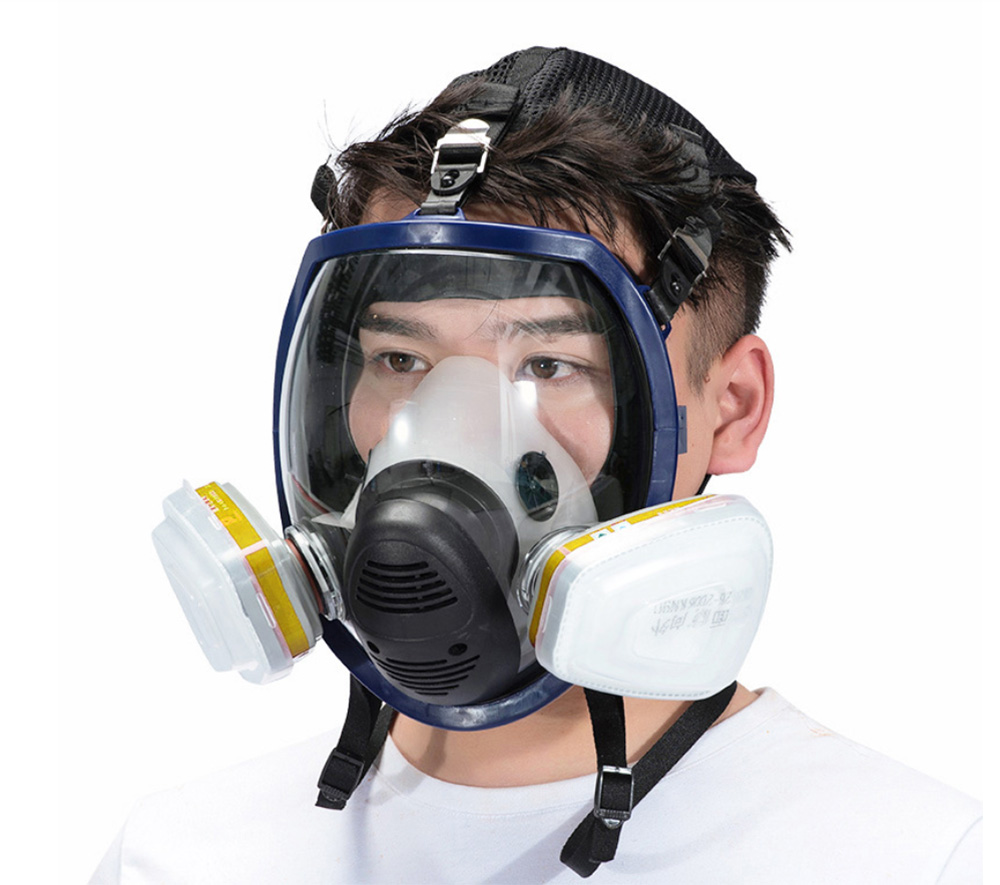


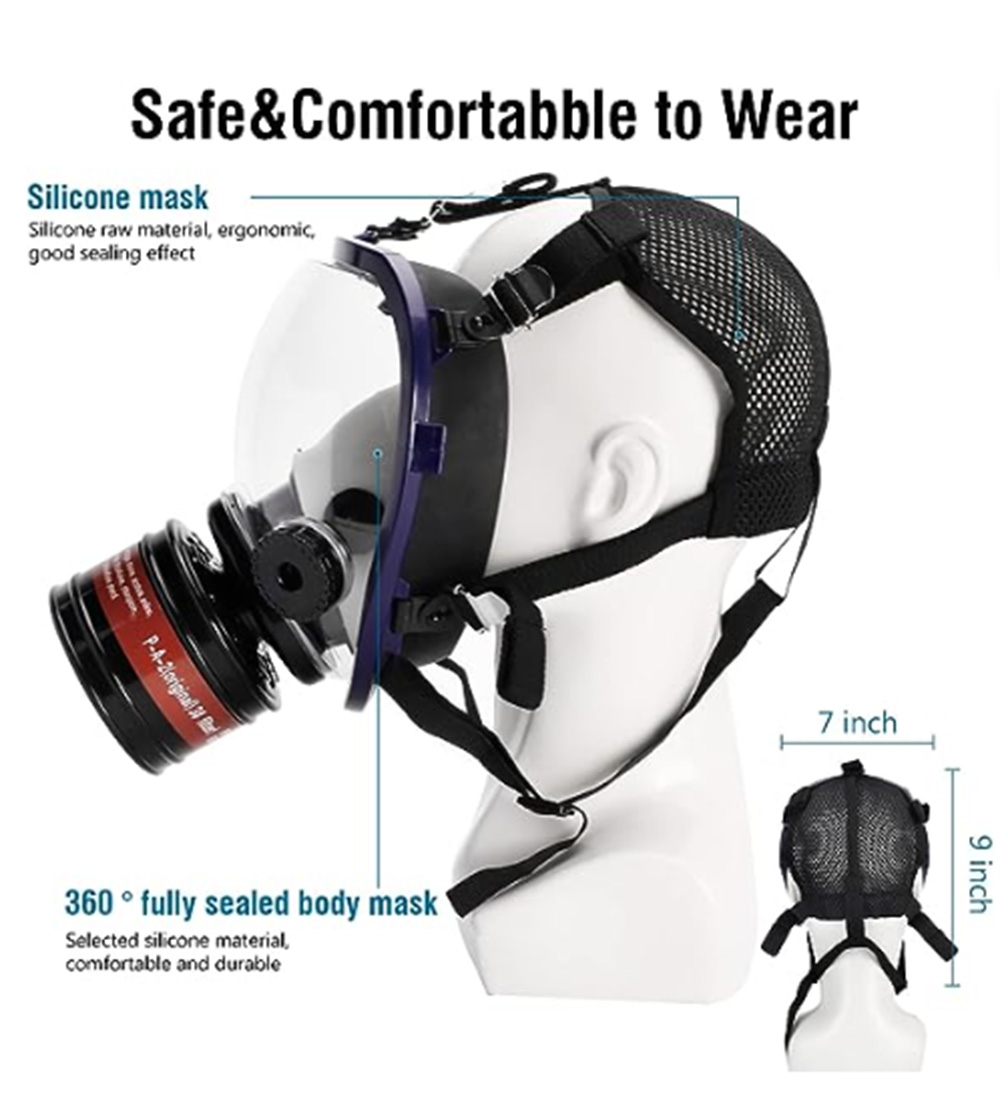
A full facepiece respirator is only as effective as its fit and seal. You can have the most advanced filters, the clearest visor, and the most comfortable head harness—but if the respirator is not donned correctly, contaminants will leak in around the edges.
Proper donning is not complicated, but it must be done correctly and consistently every time. Miss one step, and the seal fails. Rush the process, and gaps appear. Skip the inspection, and a damaged component goes unnoticed until it is too late.
At Junsee Group, we train workers and safety managers on proper donning procedures. This guide demonstrates the complete process from inspection to seal—step by step.
| Phase | Steps | Time |
|---|---|---|
| Phase 1: Pre-Donning Inspection | 5 steps | 2 minutes |
| Phase 2: Donning | 6 steps | 1 minute |
| Phase 3: User Seal Check | 2 tests | 30 seconds |
| Phase 4: Final Adjustment | As needed | 15 seconds |
Total time: Approximately 3-4 minutes for a trained worker.
Never don a respirator without inspecting it first. A damaged respirator cannot provide adequate protection.
| What to Check | Pass Condition | Fail Condition |
|---|---|---|
| Cracks or tears | None present | Any cracks, holes, or tears |
| Deformation | Facepiece holds shape | Warped, twisted, or misshapen |
| Material condition | Supple, flexible | Stiff, brittle, discolored, sticky |
| Sealing surface | Smooth, clean, no damage | Scratched, pitted, or damaged |
Action if fail: Remove respirator from service. Replace facepiece.
| What to Check | Pass Condition | Fail Condition |
|---|---|---|
| Scratches | None that impair vision | Scratches across line of sight |
| Crazing (fine chemical cracks) | None | Visible spiderweb cracks |
| Cracks | None | Any cracks |
| Coating integrity | Anti-fog coating intact | Peeling, bubbling, or worn coating |
| Clarity | Clear, no distortion | Hazy, yellowed, or distorted |
Action if fail: Replace visor (if replaceable) or entire facepiece.
| What to Check | Pass Condition | Fail Condition |
|---|---|---|
| Valve flap | Lies flat, clean, no cracks | Curled, cracked, torn, or missing |
| Valve seat | Clean, smooth | Dirty, pitted, or damaged |
| Valve cover | Intact, securely attached | Cracked, loose, or missing |
Action if fail: Clean valve flap and seat. If flap is curled or cracked, replace it.
| What to Check | Pass Condition | Fail Condition |
|---|---|---|
| Straps | Intact, elastic (if elastic type) | Frayed, cut, or stretched out (no tension) |
| Buckles | Function properly, hold position | Cracked, broken, or slip during use |
| Attachment points | Securely attached to facepiece | Loose or broken |
| Head cradle (if present) | Intact, no cracks | Cracked or broken |
Action if fail: Replace head harness or individual straps/buckles.
| What to Check | Pass Condition | Fail Condition |
|---|---|---|
| Installation | Properly seated, hand-tight | Cross-threaded, loose, or missing |
| Damage | No cracks or holes | Any damage to cartridge housing |
| Pre-filter (if present) | Clean, not clogged | Dirty, clogged, or damaged |
| Expiration (gas cartridges) | Within expiration date | Expired |
| Seal (gas cartridges) | Factory seal broken immediately before use | Seal broken earlier (for gas cartridges) |
Action if fail: Replace filter cartridges. For gas cartridges, if the factory seal was broken earlier, replace—carbon may have absorbed ambient vapors.
✅ Junsee Group tip: Perform this inspection before every use. Do not assume a respirator that worked yesterday will work today—damage can occur during storage or cleaning.
Once inspection is complete, you are ready to don the respirator.
| Action | Why |
|---|---|
| Remove glasses | Glasses temple bars break the seal |
| Remove hats, headbands, or bulky headwear | Interfere with head harness or seal |
| Pull long hair back | Hair under seal causes leaks |
| Remove earrings or facial piercings that interfere with seal | Create gaps in seal |
| Ensure face is clean-shaven (where seal contacts skin) | Stubble and facial hair prevent sealing |
| Ensure face is dry | Moisture can cause the facepiece to slip |
⚠️ Critical: If you have any facial hair in the seal area (forehead, temples, cheeks, chin, jawline), the respirator will not seal. Shave before donning.
| Action | Why |
|---|---|
| Loosen all straps completely (pull buckles outward) | Makes it easier to position the facepiece correctly |
| Do not remove straps from facepiece | — |
| Action | Detail |
|---|---|
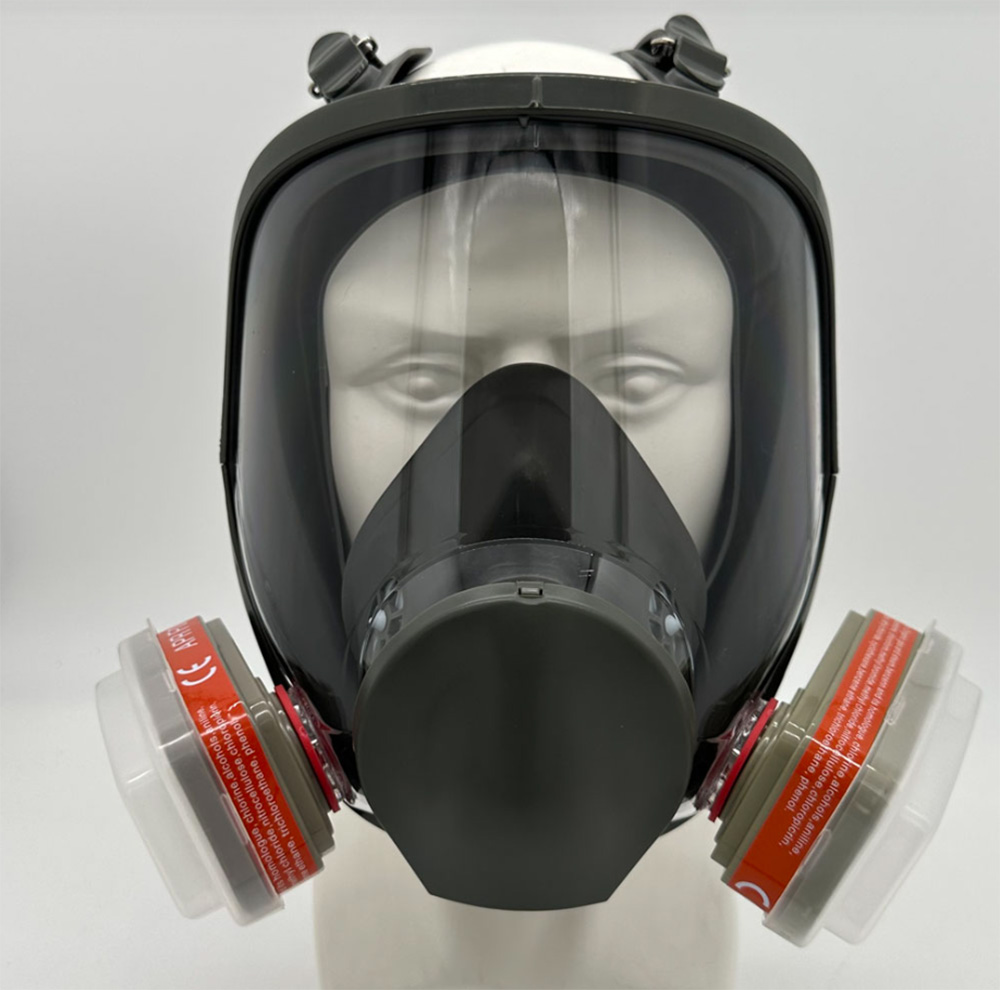
| Hold the facepiece by the head harness or facepiece body (not the visor) | Gripping the visor can distort it or leave fingerprints |
| Place the chin into the chin cup first | This ensures the facepiece sits at the correct height |
| Pull the head harness over the head in one smooth motion | Top straps first, then bottom |
| Allow the facepiece to settle naturally on the face | Do not force it into position |
Common mistake: Placing the facepiece on the face without seating the chin first. This often results in the facepiece sitting too low (visor above eyes) or too high (visor below eyes).
| Action | Why |
|---|---|
| Ensure the visor is centered on the eyes | Off-center facepiece creates uneven tension and leaks |
| The nose bridge seal should sit comfortably on the nose bridge | Not too high, not too low |
| The chin should be fully seated in the chin cup | — |
| Action | Why |
|---|---|
| Tighten the lower straps (neck straps) evenly—left and right | Secures the chin and lower face seal first |
| Pull straps straight back, not up or down | Even tension |
| Tighten just enough to create a seal—not excessively | Over-tightening distorts the facepiece |
How tight is tight enough? The facepiece should feel snug but not painful. You should not see the facepiece distorting or creating wrinkles.
| Action | Why |
|---|---|
| Tighten the upper straps (temples/forehead) evenly—left and right | Secures the forehead and upper face seal |
| Pull straps straight back | Even tension |
| Do not over-tighten | Over-tightening can lift the chin seal or distort the visor |
Final check after tightening: The facepiece should feel stable on the face. It should not shift when you move your head side to side or up and down.
The user seal check is mandatory every time you don the respirator. It verifies that the respirator is sealing properly before you enter the contaminated area.
This test checks the seal by creating positive pressure inside the facepiece.
| Step | Action |
|---|---|
| 1 | Cover the exhalation valve with the palm of your hand |
| 2 | Exhale gently into the facepiece |
| 3 | Feel for pressure buildup inside the facepiece |
| 4 | Listen for air leaks (hissing sounds) |
| 5 | Observe if the facepiece bulges slightly |
| Result | Meaning | Action |
|---|---|---|
| Facepiece bulges; no air leaks felt or heard | Good seal | Proceed to negative pressure test |
| Air leaks felt around face seal (forehead, cheeks, chin) | Poor fit | Readjust straps or reposition facepiece |
| No pressure buildup | Exhalation valve may be stuck open or major leak present | Inspect exhalation valve; re-don |
This test checks the seal by creating negative pressure inside the facepiece.
| Step | Action |
|---|---|
| 1 | Cover both filter cartridges with the palms of your hands |
| 2 | Inhale gently to create negative pressure inside the facepiece |
| 3 | Hold your breath for 5-10 seconds |
| 4 | Observe if the facepiece collapses slightly against your face |
| 5 | Listen for air leaks (hissing sounds) |
| Result | Meaning | Action |
|---|---|---|
| Facepiece collapses and stays collapsed; no air leaks | Good seal | Ready for use |
| Facepiece collapses slowly; minor hiss | Minor leak | Readjust straps or reposition |
| Facepiece does not collapse; air enters through seal | Significant leak | Re-don respirator; try different size if repeated failures |
✅ Junsee Group tip: Perform the positive pressure test first, then the negative pressure test. The order matters—positive pressure checks the exhalation valve and face seal; negative pressure checks the filter seal and face seal.
If the user seal check reveals leaks, do not enter the contaminated area. Make adjustments and retest.
| Leak Location | Possible Cause | Solution |
|---|---|---|
| Forehead | Straps too loose; facepiece too large | Tighten upper straps; try smaller size |
| Cheeks | Straps uneven (one side tighter than other) | Loosen both sides and retighten evenly |
| Chin | Chin not fully seated in chin cup; facepiece too small | Reseat chin first; try larger size |
| Nose bridge | Facepiece too small; nose bridge seal deformed | Try larger size; inspect nose bridge seal |
| Exhalation valve | Valve flap curled, cracked, or dirty | Clean or replace valve flap |
| Filter cartridges | Cartridges not fully seated | Remove and reinstall cartridges hand-tight |
| Step | Action |
|---|---|
| 1 | Loosen straps slightly |
| 2 | Reposition facepiece (chin in chin cup first) |
| 3 | Retighten straps (lower first, then upper) |
| 4 | Repeat user seal check (both positive and negative pressure) |
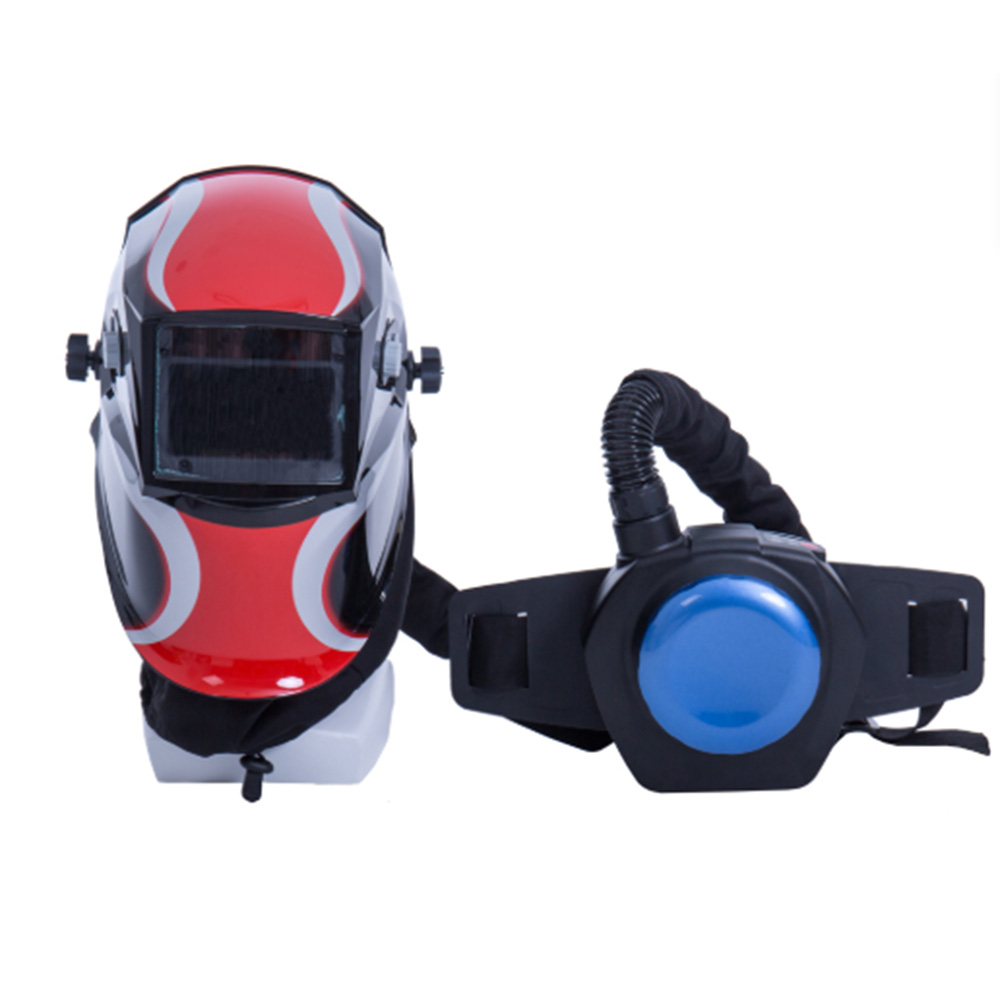
If leaks persist after multiple attempts: The respirator may be the wrong size or model for this worker. Remove from service and try a different size or model. If no size/model works, consider PAPR with loose-fitting hood (no fit testing required).
Facepiece body: no cracks, tears, or deformation
Visor: no scratches, crazing, or cracks; anti-fog coating intact
Exhalation valve flap: lies flat, clean, no cracks or curling
Head harness straps: intact, elastic (if applicable), buckles work
Filter cartridges: properly installed, undamaged, within expiration (gas)
Face is clean-shaven where seal contacts skin
Glasses removed
Hats, headbands, bulky headwear removed
Long hair pulled back
Face is dry
Straps fully loosened
Chin placed in chin cup first
Head harness pulled over head (top straps first, then bottom)
Visor centered on eyes
Lower straps tightened evenly (left and right)
Upper straps tightened evenly (left and right)
Facepiece feels snug but not painful
Positive pressure test: cover exhalation valve, exhale gently → facepiece bulges, no leaks
Negative pressure test: cover filter cartridges, inhale gently → facepiece collapses, no leaks
Both user seal checks passed
Worker feels comfortable and can see clearly
Enter contaminated area
| Mistake | Why It Happens | Correction |
|---|---|---|
| Skipping the pre-donning inspection | Rushing, complacency | Train that inspection is mandatory before every use |
| Not loosening straps before donning | Worker forgets; straps were tight from previous use | Loosen all straps fully before positioning facepiece |
| Placing facepiece without seating chin first | Rushing; improper training | Always place chin in chin cup first |
| Over-tightening straps | Believing "tighter = better seal" | Tighten only until snug; over-tightening distorts facepiece |
| Uneven strap tension | Tightening one side more than the other | Tighten left and right evenly; check facepiece is centered |
| Donning with glasses on | Convenience; forgetting | Remove glasses before donning; use prescription lens inserts |
| Skipping the user seal check | Rushing; complacency | User seal check is mandatory—no exception |
| Entering contaminated area after failed seal check | Pressure to start work | Never enter with failed seal check—stop and fix the problem |
OSHA requires that workers receive training on proper donning and seal checking before using any tight-fitting respirator.
| Topic | Content |
|---|---|
| Pre-donning inspection | How to inspect each component |
| Donning procedure | Step-by-step demonstration and practice |
| User seal checks | Positive and negative pressure tests |
| When to reseal | After adjustment, after speaking, after head movement |
| Facial hair policy | Must be clean-shaven where seal contacts skin |
| Limitations | When NOT to use (IDLH, oxygen deficiency, etc.) |
Worker demonstrates improper donning or seal check technique
New respirator model or size is introduced
Worker fails fit testing
Changes in workplace conditions or hazards
| Key Principle | Why It Matters |
|---|---|
| Inspect before every use | Catches damage before exposure |
| Don correctly (chin first, lower straps then upper) | Ensures proper positioning and even tension |
| Perform user seal checks every time | Verifies seal before entering contaminated area |
| Do not over-tighten | Over-tightening distorts facepiece and creates leaks |
| Never skip steps | Each step is essential for proper protection |
| Train and practice | Proper donning becomes second nature with practice |
The bottom line: Proper donning takes 3-4 minutes for a trained worker. Those 3-4 minutes are the difference between protection and exposure. Do not rush. Do not skip steps. Follow the complete process from inspection to seal every single time.
At Junsee Group, we provide:
✅ Full facepiece respirators with clear donning instructions
✅ Training materials for workers and safety managers
✅ User seal check guidance
✅ Technical support for donning and fit issues
Need donning training for your workforce?
Contact Junsee Group today. We provide training materials, demonstration guides, and technical support to help your workers don their full facepiece respirators correctly—every time.


Your email address will not be published. Required fields are marked