How to Clean a PAPR After Use? Junsee Group Provides Daily Maintenance Steps for Powered Air Purifying Respirators

blog-images

How to Clean a PAPR After Use? Junsee Group Provides Daily Maintenance Steps for Powered Air Purifying Respirators

  • admin
  • 2026/5/21
  • visits

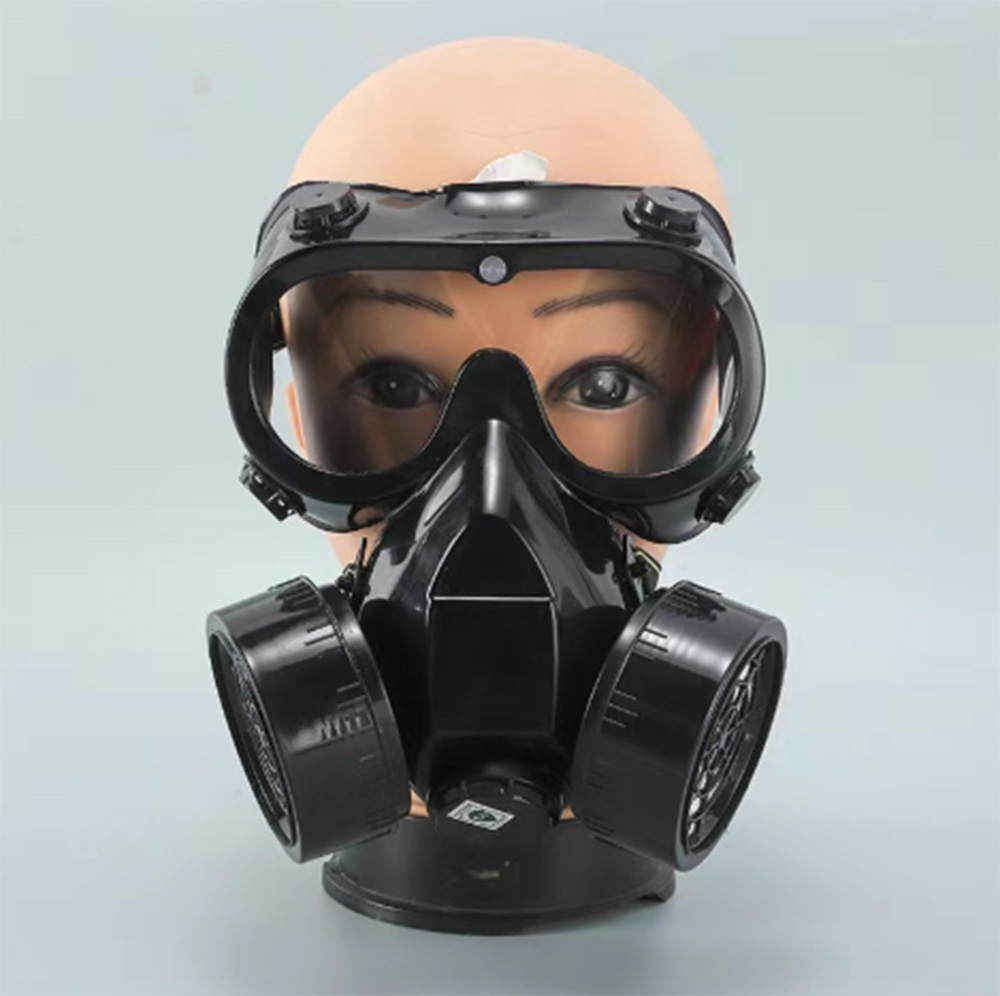
A Powered Air Purifying Respirator (PAPR) is a significant investment in worker safety. But like any precision equipment, it requires regular cleaning and maintenance to function properly.

Neglecting PAPR maintenance leads to:

  • Reduced airflow and protection

  • Premature component failure

  • Battery performance degradation

  • Cross-contamination between users

  • Costly replacements

At Junsee Group, we believe that proper maintenance is not optional—it is essential. This guide provides daily cleaning and maintenance steps to keep your PAPR systems operating safely and efficiently.


Before You Start: Critical Safety Warnings

WarningWhy It Matters
Never submerge the blower unit, battery, or filters in liquidWater ingress damages internal components and creates electrical hazards 
Do not use gasoline, organic solvents, or chlorinated degreasing fluidsThese chemicals degrade plastics and rubbers, destroying critical seals 
Ensure no liquid enters the breathing tube or filterContaminated air passages can expose workers to hazards 
Always clean in a safe, uncontaminated areaCleaning in contaminated areas transfers hazards to equipment 
Follow manufacturer-specific instructionsDifferent PAPR models have different approved cleaning agents 

Junsee Group recommendation: Before cleaning any PAPR, consult the manufacturer's user manual for model-specific instructions and approved cleaning agents.


What You Will Need

ItemPurpose
Mild soap and warm waterGeneral cleaning 
Lint-free cloths or soft spongesWiping components without scratching 
Manufacturer-approved disinfectant wipesDisinfection between users 
Soft-bristle brush (optional)Loosening stubborn dirt 
Clean, dry area for air dryingPreventing contamination during drying 
Replacement filters (if needed)Restoring proper airflow

Approved Cleaning Agents

The following agents have been tested for PAPR cleaning :

Cleaning AgentType
Mild dishwashing liquid soapGeneral cleaning
70% IPA (Isopropyl Alcohol)Disinfection
10% bleach solution (diluted)Disinfection (with rinse)
Sani-cloth HB wipesDisinfection
SaniWipesDisinfection

Note: Bleach-containing wipes should only be used when necessary (e.g., after exposure to infectious patients), as bleach may cause premature damage. If used, rinse with a water-moistened wipe afterward .


Step-by-Step Daily PAPR Cleaning Procedure

Step 1: Exit to a Safe, Uncontaminated Area

Before removing or cleaning any PAPR component:

  1. Exit the contaminated work area while still wearing the PAPR

  2. Move to a designated clean area (e.g., equipment decontamination zone)

  3. Do not remove the PAPR while still in the hazard zone 

⚠️ Critical: Never remove or clean PAPR components in an area where contaminants can contact or accumulate inside the equipment .

Step 2: Perform Hand Hygiene and Don Clean Gloves

  1. Wash hands thoroughly or use alcohol-based hand sanitizer

  2. Don clean disposable gloves before handling used PAPR components 

  3. This prevents cross-contamination from your hands to the equipment

Step 3: Remove and Clean the Hood or Helmet

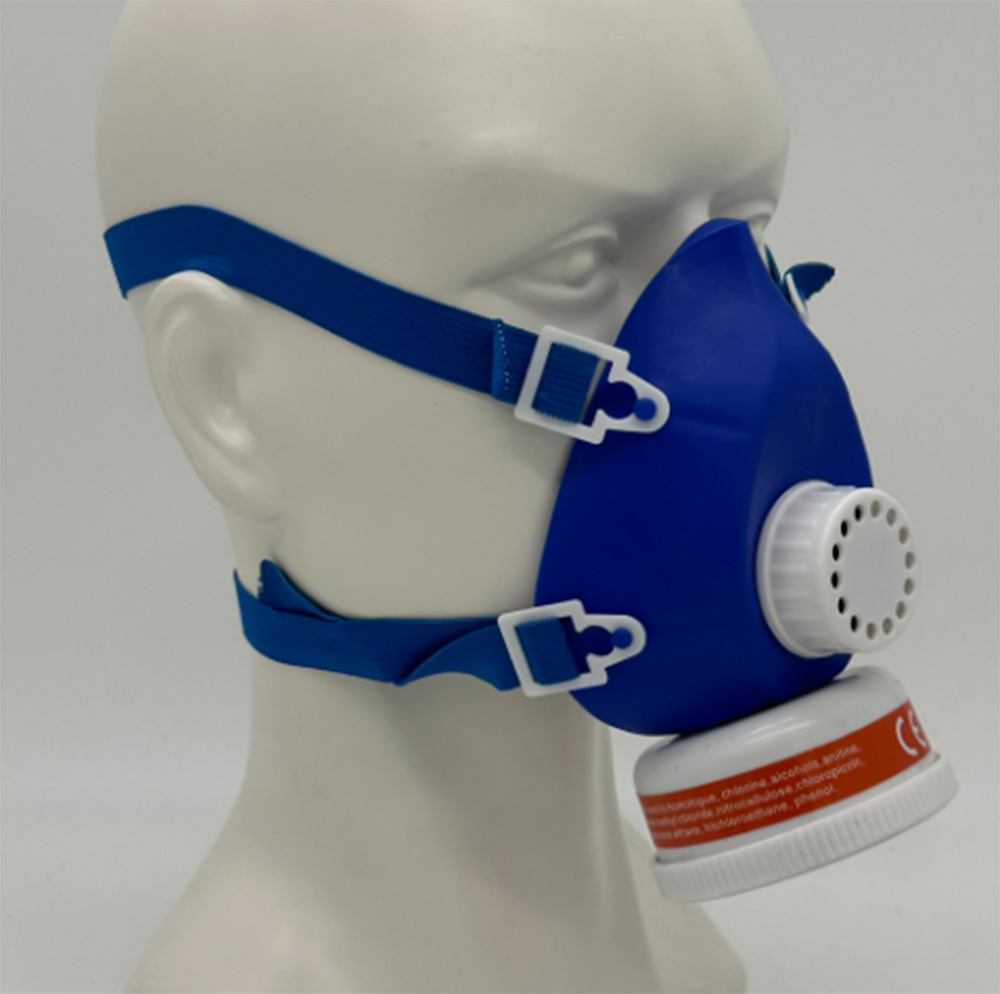
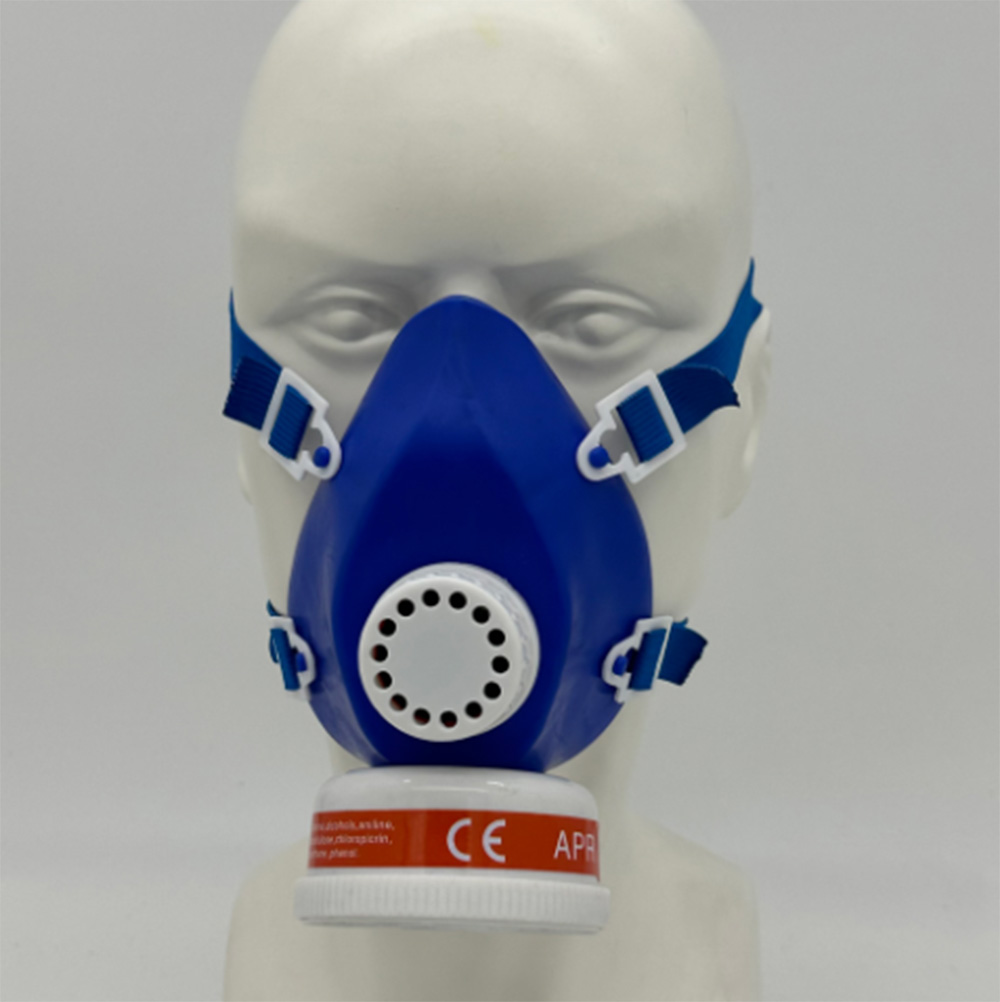
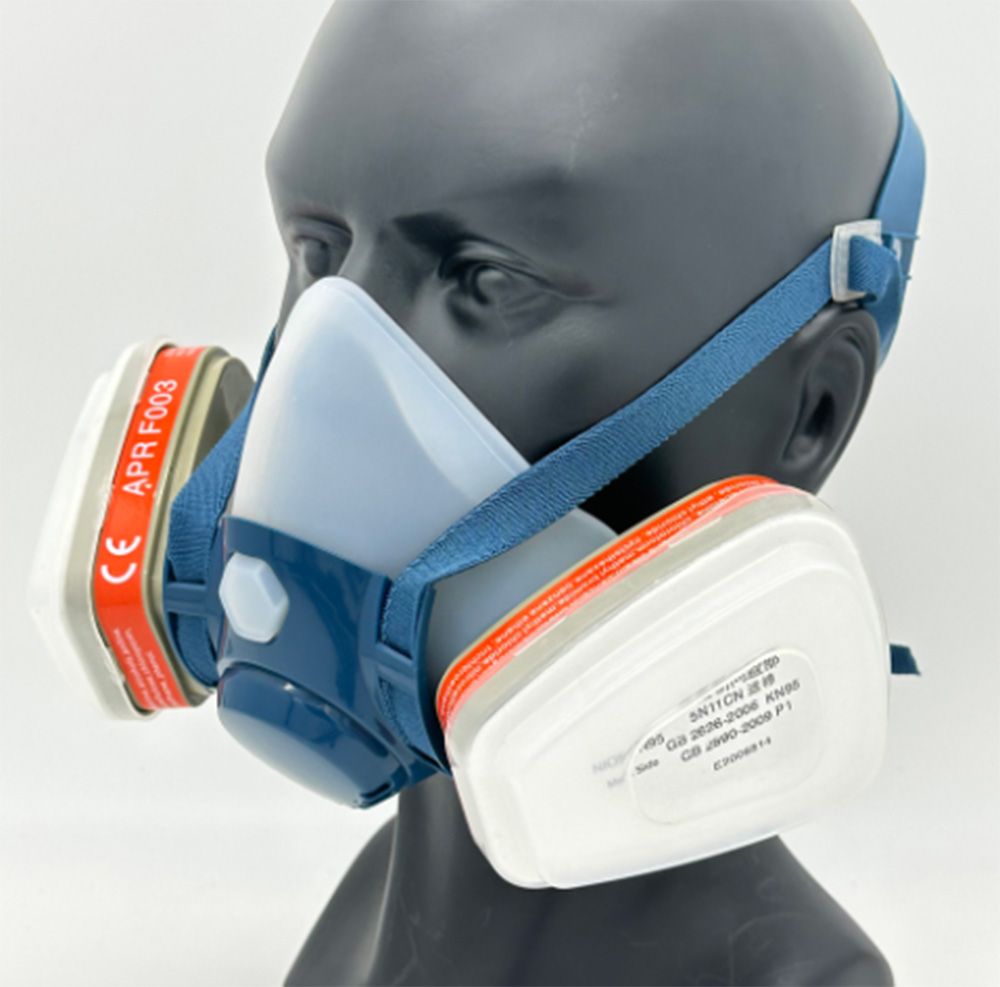
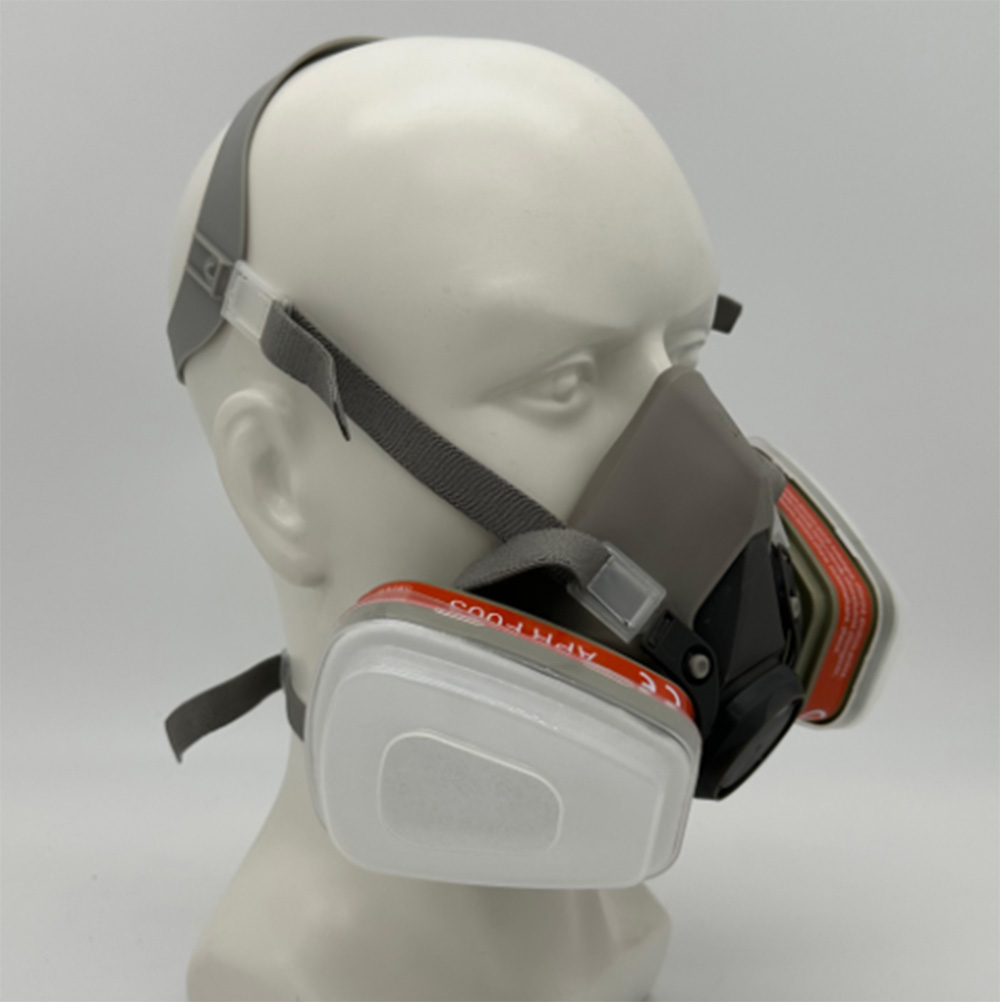
This is the component with the most direct contaminant exposure.

Sub-stepAction
3.1Remove the hood/helmet from the breathing tube connection
3.2Inspect for tears, holes, or visible damage. Replace if damaged 
3.3Wipe all outer surfaces with a manufacturer-approved disinfectant wipe 
3.4For heavy soil, use a soft cloth moistened with mild soap and warm water 
3.5Ensure disinfectant remains wet for the required contact time (check product label) 
3.6Wipe the headgear suspension and straps similarly
3.7Allow the hood to air dry upright on a clean surface 

For hoods with visors: Clean the protective face shield with a soft cloth and approved cleaner. Do not use abrasive materials that could scratch the visor .

Step 4: Clean the Breathing Tube

Sub-stepAction
4.1Detach the breathing tube from both the blower unit and the hood
4.2Clean the outside of the tube with mild soap solution and a lint-free cloth 
4.3Do not allow liquid to enter the inside of the tube 
4.4Rinse with clean water (outside only) 
4.5Wipe dry or allow to air dry completely

⚠️ Critical: If liquid enters the breathing tube, it must be thoroughly cleaned and dried before reuse. Contaminated air passages compromise respiratory protection .

Step 5: Clean the Blower Unit (Motor Assembly)

Sub-stepAction
5.1Ensure the blower unit is turned off
5.2Do not remove the filter during cleaning—it prevents contaminants from entering the blower 
5.3Wipe the exterior of the blower with a lint-free cloth moistened with mild soap solution 
5.4Take care to avoid getting liquid near the air inlet or battery connector terminals 
5.5Dry with a clean, lint-free cloth

Important: Never submerge the blower unit in water or any cleaning fluid .

Step 6: Clean the Battery Pack

Sub-stepAction
6.1Remove the battery from the blower unit (if detachable)
6.2Wipe the exterior with a mild soap solution and lint-free cloth 
6.3Avoid getting cleaning solutions or water on the battery connector contacts or gasket 
6.4Dry thoroughly before reconnecting

For healthcare settings: If bleach wipes are used on the battery pack or blower, rinse with a water-moistened wipe afterward to prevent premature damage .

Step 7: Clean the Belt or Harness (If Applicable)

Sub-stepAction
7.1Remove the belt/harness from the blower unit
7.2Clean with mild soap solution and a soft-bristle brush if needed 
7.3Rinse with clean water
7.4Air dry completely before reassembly

Step 8: Allow All Components to Dry Completely

ComponentDrying Method
Hood/HelmetAir dry upright on a clean surface 
Breathing tubeAir dry (ensure interior is dry if any moisture entered)
Blower unitWipe dry with lint-free cloth, then air dry
BatteryWipe dry, ensure connector contacts are dry
Belt/HarnessAir dry

Never reassemble or store PAPR components while wet. Moisture promotes bacterial growth and can damage electrical components .

Step 9: Inspect Components Before Reassembly

ComponentWhat to Check
Hood/HelmetTears, holes, damaged visor, worn elastic 
Breathing tubeCracks, creases, loose connections 
FilterClogging, damage, expiration 
Blower unitCracks, damaged seals, unusual noise
BatterySwelling, corrosion on contacts, reduced runtime

Replace any damaged or worn components immediately.


Filter Maintenance and Replacement

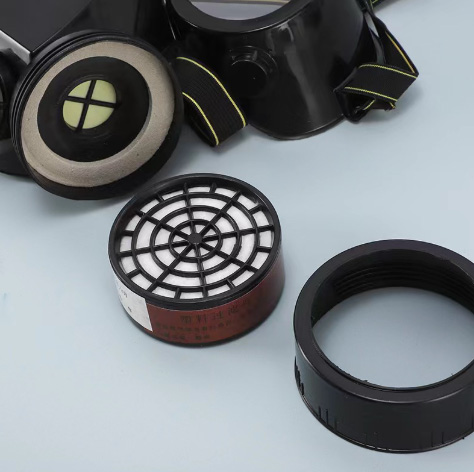
Filters are consumable items and must be replaced regularly .

Filter TypeReplacement IndicatorTypical Lifespan
Pre-filterVisible dust loading, discolorationDaily to weekly 
Main particulate filter (HEPA)Reduced airflow, audible alarm, visible damage40 hours of use or 30 days 
Gas cartridgeSmell or taste of contaminant, time-based scheduleVaries by manufacturer—follow label
Combination filterWhichever component fails firstFollow most conservative schedule

How to Check Airflow

Most PAPR systems include a flow check device or indicator:

  1. Disconnect the breathing tube from the blower

  2. Insert the flow meter into the blower outlet

  3. Turn on the blower

  4. Verify the indicator reaches the minimum flow level marking 

If airflow is inadequate:

  1. Replace filters and test again 

  2. If still inadequate, check for battery charge and blower function

  3. Remove unit from service if problem persists 

Junsee Group recommendation: Perform a flow check before every use—not just after cleaning .


Storage Guidelines

Proper storage extends PAPR component life and ensures readiness for the next use.

Storage RequirementSpecification
EnvironmentClean, dry area, away from contaminants 
Temperature0°C to 32°C (32°F to 90°F) ; or -10°C to +55°C (14°F to 131°F) depending on model 
HumidityLess than 90% RH 
SunlightAvoid direct sunlight (UV degrades plastics)
Heat sourcesAvoid excessive heat above 60°C (140°F) 

Additional Storage Tips

ItemStorage Instruction
BatteryPreferably store on charger to maintain optimal service life . If storing long-term without use, remove from blower, fully charge, and store separately 
HoodDo not tuck bib or extra material into headgear—this contaminates the breathing area 
Breathing tubeCan remain attached to headpiece or be removed for storage 
Blower unitStore with filter attached to prevent contaminants from entering air inlet

PAPR Maintenance Schedule Summary

FrequencyAction
Before each useVisual inspection of all components ; flow check ; battery charge check
After each useCleaning and disinfection per steps above 
DailyPre-filter inspection and replacement if needed 
WeeklyThorough cleaning of belt/harness; inspect hood for wear
MonthlyMain filter inspection; battery capacity check
Every 40 hours of use (or 30 days)Replace main particulate filter 
AnnuallyProfessional service check; replace batteries as needed
As neededReplace gas cartridges when contaminant is smelled/tasted; replace damaged components immediately

Common Cleaning Mistakes to Avoid

MistakeConsequence
Submerging the blower in waterWater ingress destroys electrical components and voids warranty
Using bleach on every cleaningPremature degradation of plastics and seals 
Skipping the flow check after cleaningWorker may use unit with inadequate airflow
Storing PAPR while still wetBacterial growth, mold, and component damage
Cleaning in the contaminated areaTransfers hazards to equipment—defeats purpose of cleaning 
Using non-approved solventsChemical damage to seals, plastics, and electrical components 
Reassembling with missing or damaged partsReduced protection—NIOSH approval voided 

Healthcare-Specific Cleaning Considerations

In healthcare settings, PAPRs may be exposed to infectious diseases. Additional precautions include :

  1. Use hospital-approved disinfectant wipes (e.g., purple-top Sani Wipes) 

  2. Ensure components stay wet for the appropriate contact time listed on the disinfectant label 

  3. Bleach wipes should be used only when patients are on contact/isolation precautions 

  4. If bleach wipes are used, rinse with a water-moistened wipe afterward 

  5. Allow hood to air dry upright before storing in clean supply room 

  6. Place rechargeable battery packs on chargers after drying 


When to Remove a PAPR from Service

Immediately remove a PAPR from service and tag for repair if:

ConditionAction
Visible cracks or damage to blower housingDo not use—replace blower unit 
Battery no longer holds a full-shift chargeReplace battery
Breathing tube has cracks or holesReplace tube 
Hood has tears or holesReplace hood 
Audible alarm sounds but airflow is adequate (for low battery)Replace/recharge battery 
Flow check fails even with new filtersProfessional service required
You smell or taste contaminant while wearingReplace filter immediately; inspect system 

The Junsee Group Takeaway

Proper PAPR cleaning and maintenance is not complicated—but it must be done consistently and correctly.

Key PrincipleWhy It Matters
Clean after every usePrevents cross-contamination and extends component life
Never submerge electrical componentsPrevents costly damage and safety failures
Use approved cleaning agents onlyProtects seals, plastics, and electrical parts
Replace filters on scheduleEnsures adequate airflow and protection
Store in clean, dry environmentMaintains equipment readiness
Inspect before every useCatches problems before they become hazards

At Junsee Group, we provide complete PAPR systems and ongoing support—including maintenance training, replacement filters, and technical assistance.

The bottom line: A clean PAPR is a working PAPR. A working PAPR is a life-saving PAPR. Take the few minutes required for proper cleaning and maintenance after each use—your workers' health depends on it.


Need replacement filters, batteries, or maintenance training for your PAPR program?
Contact Junsee Group today. We stock genuine parts and provide technical support to keep your PAPR systems operating safely—shift after shift.

Leave Comment

Your email address will not be published. Required fields are marked

Verification code: 验证码