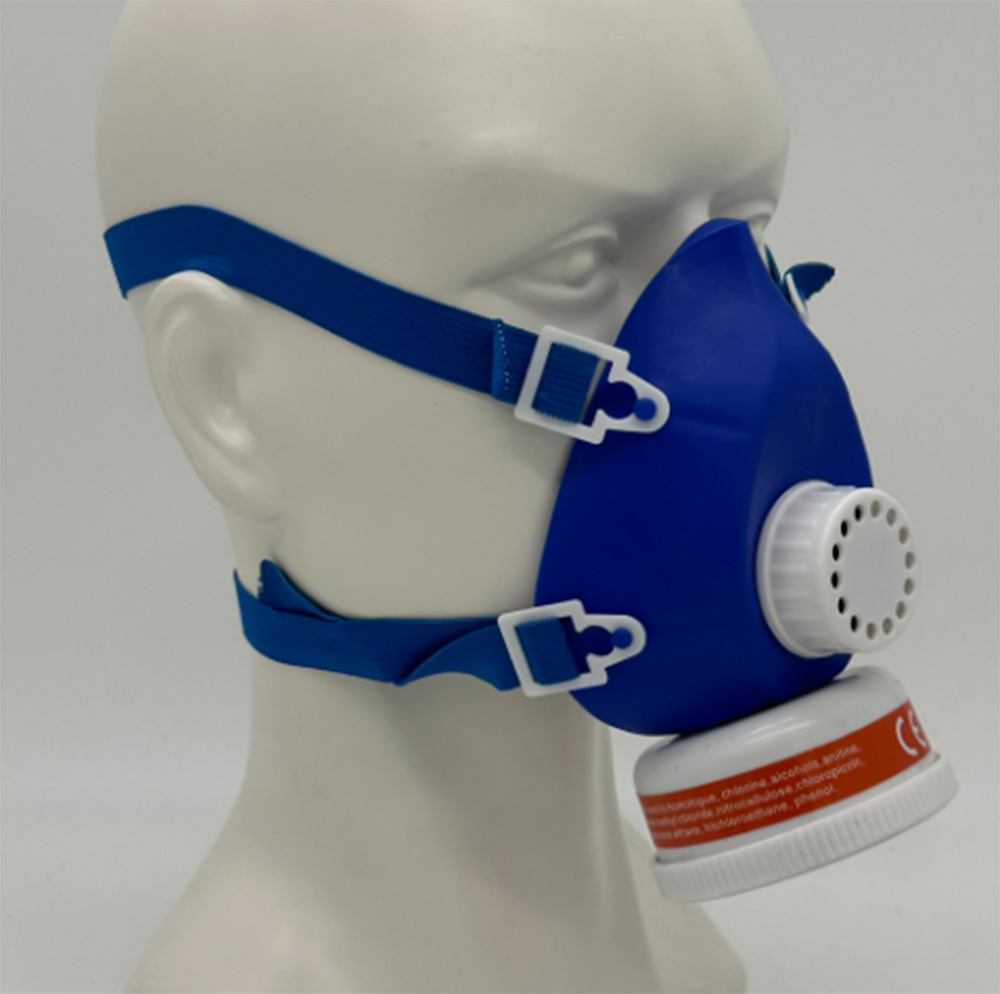
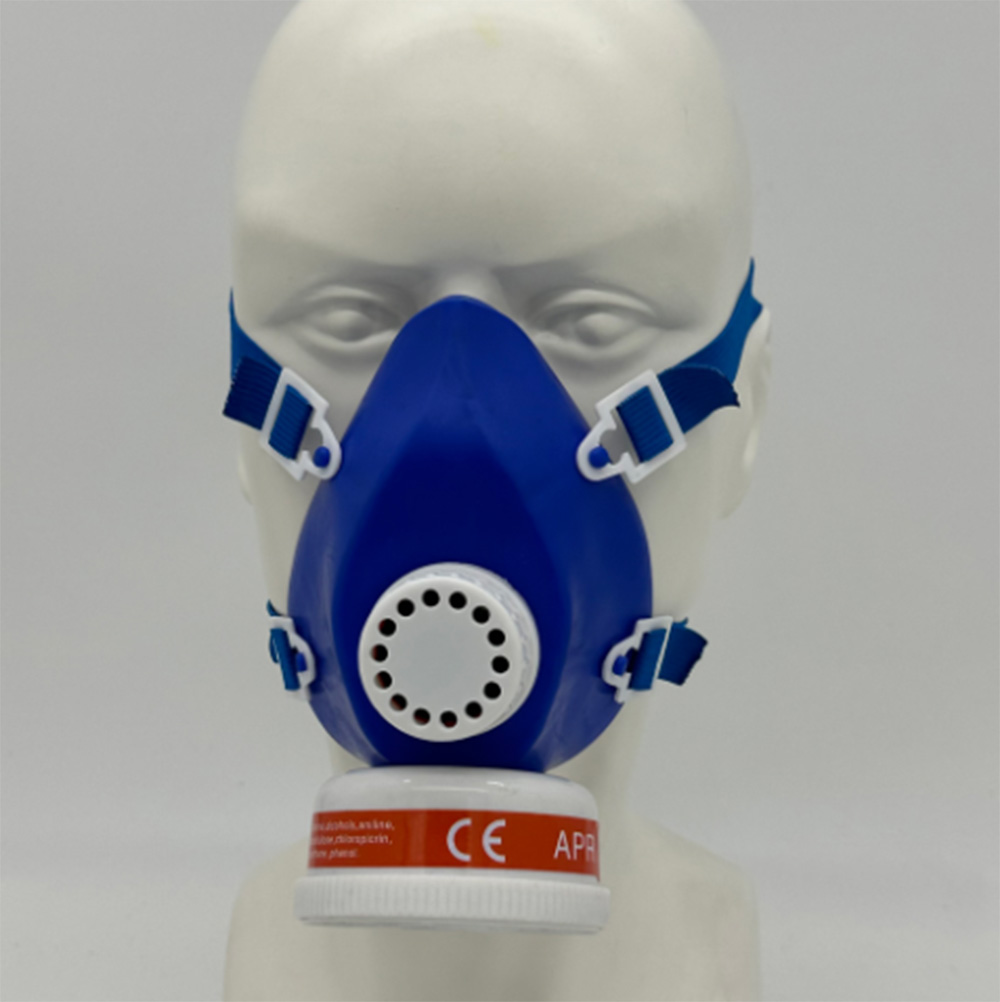
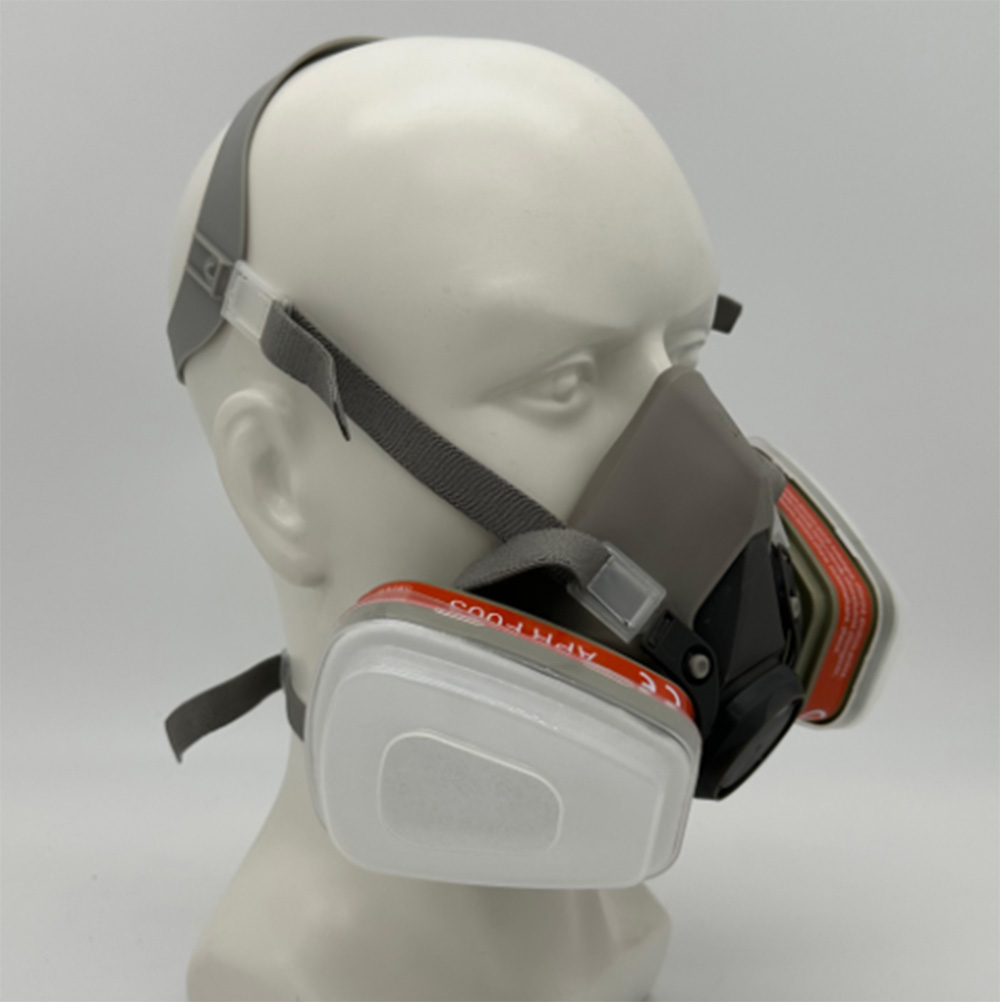
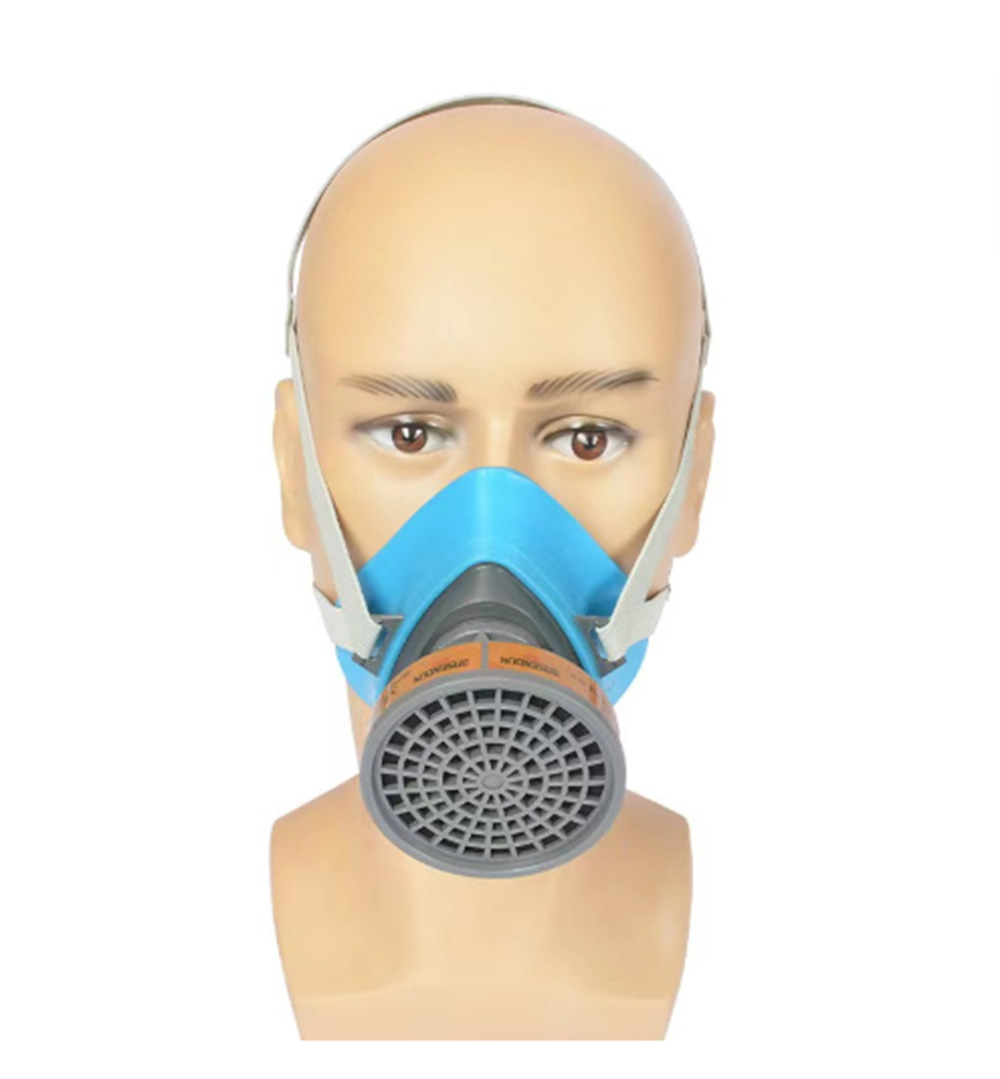
A half mask respirator can have the best filters and the most comfortable materials, but if it is the wrong size, it provides zero protection.
Unlike safety glasses or hard hats that offer some protection even if not perfectly fitted, a tight-fitting respirator depends entirely on a perfect seal against the face. Too large, and contaminants leak in around the edges. Too small, and the facepiece distorts, creating gaps or causing painful pressure points that lead workers to remove it.
At Junsee Group, we help customers prepare for fit testing every day. This guide explains how to determine the correct half mask size and how to prepare workers for successful fit testing—before the test begins.

A half mask respirator seals against the face at three critical areas:
| Contact Point | Location | Why It Matters |
|---|---|---|
| Nose bridge | Across the top of the nose | Upper seal—prevents contaminants from entering from above |
| Cheeks | Both sides of nose/mouth | Main sealing surface |
| Chin | Below the lower lip | Lower seal—prevents contaminants from entering from below |
If the respirator is too large:
| Symptom | Consequence |
|---|---|
| Facepiece slips down on face | Lower seal may open; respirator shifts during movement |
| Chin cup does not contact chin properly | Gap allows contaminants to enter from below |
| Straps must be over-tightened | Uncomfortable; worker removes respirator |
If the respirator is too small:
| Symptom | Consequence |
|---|---|
| Facepiece stretches or distorts | Material deformation creates leak paths |
| Pressure points on nose bridge or chin | Pain; worker removes respirator |
| Chin cup rides up under chin | Unstable seal; discomfort |
✅ Junsee Group takeaway: Correct sizing is not optional—it is the foundation of effective respiratory protection. A worker cannot "make do" with the wrong size.
Most reputable half mask manufacturers offer multiple sizes. The most common sizing systems are:
| Size | Typical Fit For |
|---|---|
| Small | Smaller face shapes; narrower faces; lower nose bridges |
| Medium | Average adult faces (fits approximately 60-70% of the population) |
| Large | Larger face shapes; wider faces; higher nose bridges |
✅ Junsee Group recommendation: Choose a manufacturer that offers at least three sizes (S, M, L). This gives you the best chance of fitting a diverse workforce.
NIOSH uses a standardized Bivariate Test Panel based on facial dimensions to ensure respirators fit the general population. The panel is based on two key measurements:
| Measurement | Definition |
|---|---|
| Face Length | Distance from the bridge of the nose to the bottom of the chin |
| Face Width | Distance across the cheekbones (bizygomatic breadth) |
The NIOSH panel represents approximately 98% of US respirator wearers. Manufacturers use this panel to design and test their respirator sizes.
Before formal fit testing, you can perform preliminary sizing to narrow down which size a worker should try first.
| Step | Action | What to Look For |
|---|---|---|
| 1 | Have worker remove glasses, hats, and any headwear | — |
| 2 | Select a size based on general appearance (start with Medium for most adults) | — |
| 3 | Loosen all head harness straps completely | — |
| 4 | Place the facepiece over the nose and mouth, chin in chin cup first | — |
| 5 | Pull the head harness over the head (do not tighten yet) | — |
| 6 | Observe the position of the facepiece on the face | — |
| Observation | Indicates | Action |
|---|---|---|
| Chin cup fits comfortably under chin; nose bridge contacts sealing area | Size may be correct | Proceed to user seal check or formal fit testing |
| Facepiece sits too high (nose bridge area not sealing) | Size too small | Try next larger size |
| Facepiece sits too low (chin cup above chin) | Size too large | Try next smaller size |
| Gaps at cheeks | Size too large | Try next smaller size |
| Facepiece stretches; white stress marks appear | Size too small | Try next larger size |
| Worker feels pressure on nose bridge before straps are tightened | Size too small | Try next larger size |
| Worker Characteristic | Starting Size |
|---|---|
| Small female, narrow face, low nose bridge | Small |
| Average female, average male | Medium |
| Large male, wide face, high nose bridge | Large |
| Workers with prominent chins | May need larger size for chin clearance |
✅ Junsee Group tip: Always start with Medium for average adults. It fits the largest percentage of the population. Then adjust up or down based on preliminary fit observations.
Formal fit testing is required by OSHA for all tight-fitting respirators, including half masks. Preparation is critical for a successful test.
The single most important preparation step: the worker must be clean-shaven where the respirator seal contacts the skin.
| Facial Hair Type | Allowed? | Why |
|---|---|---|
| Full beard | ❌ No | Hair under the seal prevents sealing |
| Goatee | ❌ No | Hair on chin/jawline breaks lower seal |
| Mustache (if extends into seal area) | ❌ No | Crosses the upper lip seal area |
| Stubble (even 1 day growth) | ❌ No | Stubble creates leak paths |
| Sideburns (if extend into seal area) | ❌ No | Cross temple seal area |
⚠️ Critical: OSHA prohibits the use of tight-fitting respirators if any facial hair interferes with the sealing surface. Workers must be clean-shaven on the day of fit testing—and every day they wear the respirator.
For qualitative fit testing (using taste agents like saccharin or bitrex), workers should refrain from:
| Activity | Recommended Timing |
|---|---|
| Eating | 30-60 minutes before test |
| Drinking (except water) | 30-60 minutes before test |
| Smoking or vaping | 30-60 minutes before test |
Why? Residual tastes or smells can interfere with detecting the test agent.
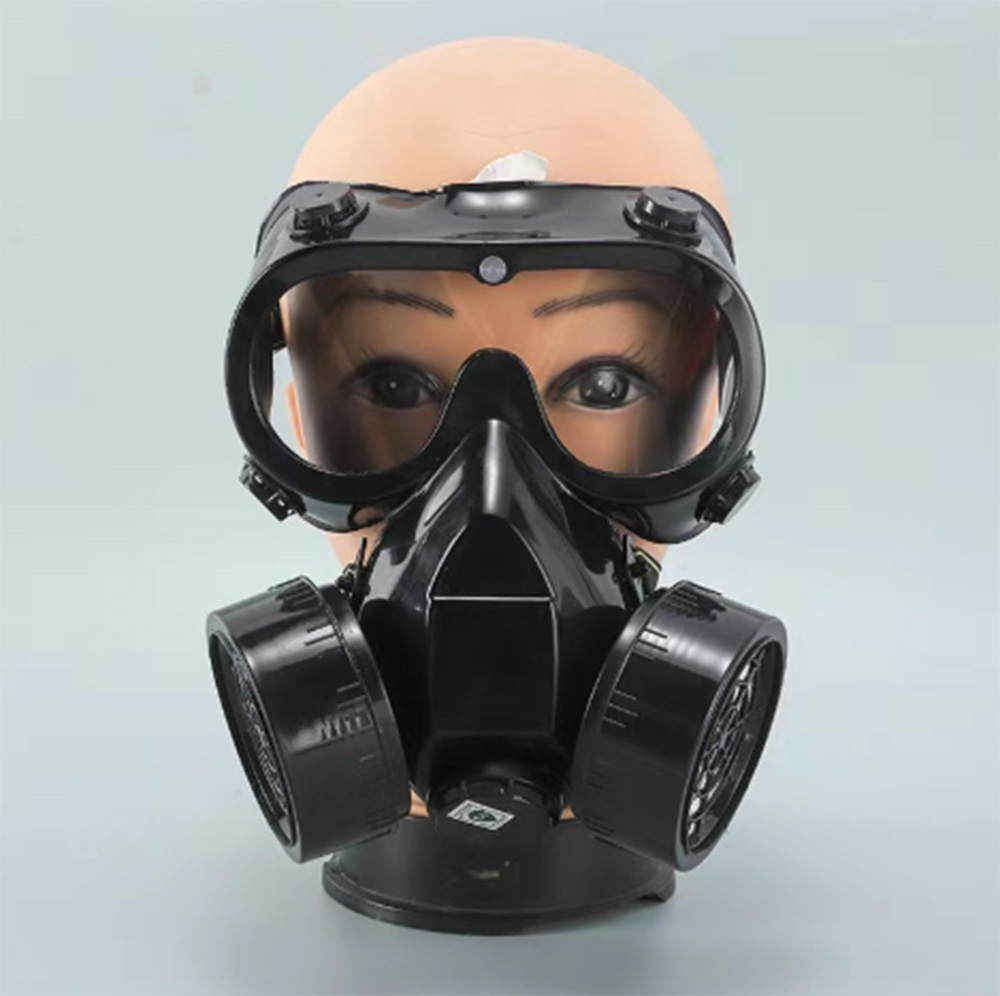
If workers normally wear other PPE with their respirator (hard hats, safety glasses, hearing protection), they should wear them during fit testing.
| Reason | Why It Matters |
|---|---|
| Safety glasses temple bars can break the seal | Must be accounted for during testing |
| Hard hats can push the respirator down | May affect fit |
| Hearing protection can interfere with head straps | May need adjustment |
✅ Junsee Group tip: Fit testing should simulate real work conditions as closely as possible.
Before formal fit testing, workers should go through a size selection process to find the most comfortable respirator that provides an adequate seal.
OSHA requires that workers be given a selection of respirators in at least three sizes of the type to be tested. This allows workers to find the best fit.
When evaluating respirator comfort, workers should consider:
| Question | Why It Matters |
|---|---|
| Does the mask sit correctly on the nose? | Nose bridge seal is critical |
| Is there room for eye protection? | Safety glasses must not break the seal |
| Can you talk comfortably? | Speaking should not displace the respirator |
| Does the mask stay in place on cheeks and face? | No slipping or shifting |
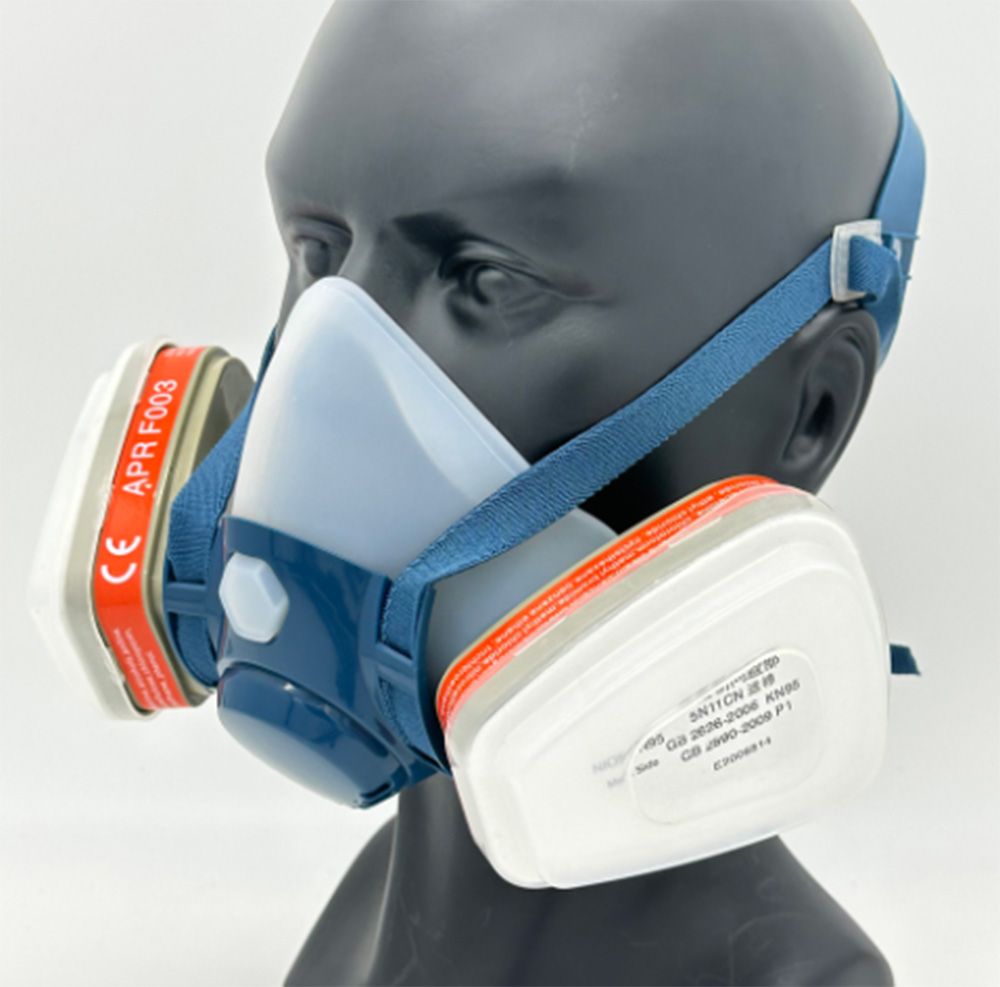
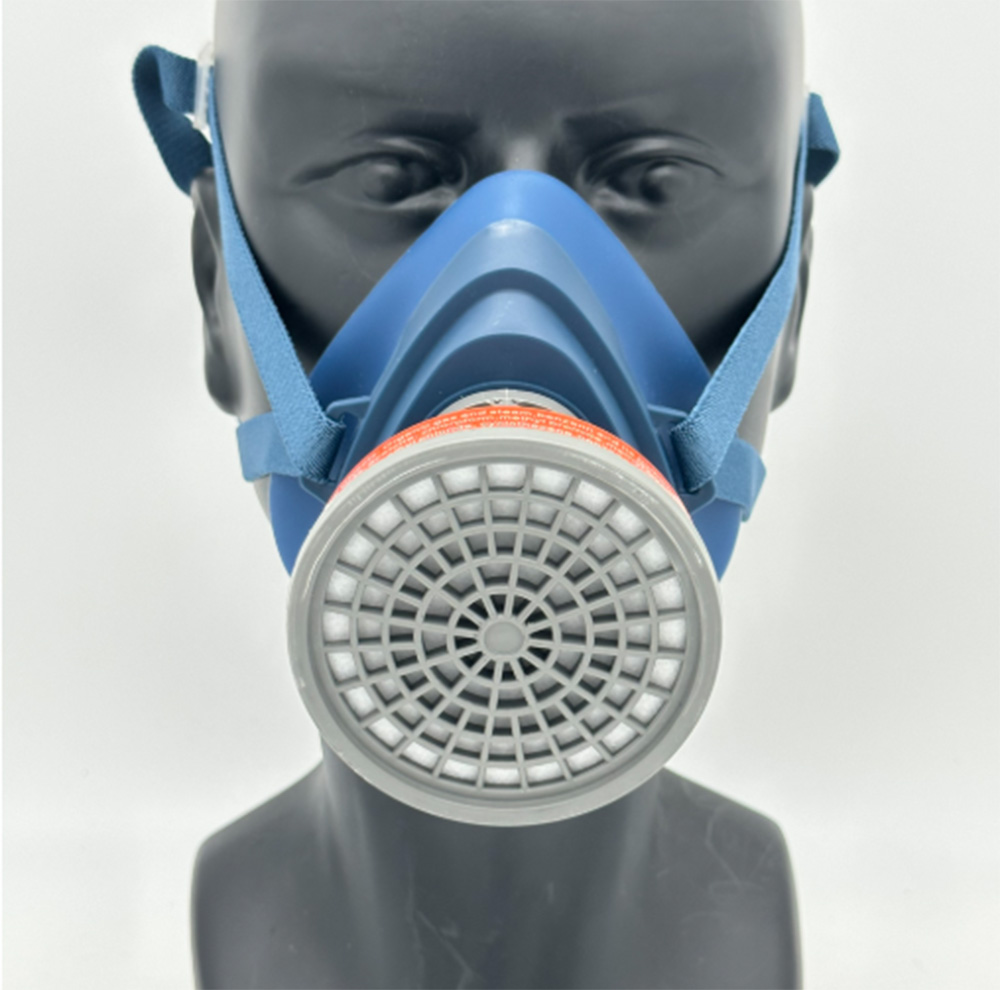
General donning steps for a half mask respirator:
| Step | Action |
|---|---|
| 1 | Adjust upper and lower head straps to their full outward position |
| 2 | With one hand holding the respirator, place chin inside the chin cup and the top of the respirator over the nose |
| 3 | Position the cradle suspension on the center of the head |
| 4 | Remove slack in upper straps by pulling end tabs back and toward the ears |
| 5 | Fasten bottom straps behind the neck, making sure it is under any hair |
| 6 | Tighten upper head straps in small, equal increments to ensure even tension |
| 7 | Tighten lower head straps evenly until the respirator is snug, comfortable, and centered on the face |
✅ Junsee Group tip: Over-tightening is a common mistake. Straps should be snug but comfortable—not painfully tight. Over-tightening distorts the facepiece and can actually cause leaks.
Before formal fit testing begins, workers should perform a user seal check to verify the respirator is properly donned. This is not a substitute for fit testing—but it helps identify gross sizing mismatches.
| Step | Action |
|---|---|
| 1 | Cover the exhalation valve with the palm of your hand |
| 2 | Exhale gently into the facepiece |
| 3 | Feel for pressure buildup inside the facepiece |
| 4 | Listen for air leaks (hissing sounds) |
| Result | Indicates |
|---|---|
| Facepiece bulges slightly; no air leaks felt or heard | Good seal—proceed to negative pressure check |
| Air leaks felt around seal | Poor fit—adjust straps or try different size |
| No pressure buildup | Exhalation valve may be faulty or major leak present |
| Result | Indicates |
|---|---|
| Facepiece collapses and stays collapsed; no air leaks | Good seal |
| Facepiece collapses slowly; minor hiss | Minor leak—adjust straps |
| Facepiece does not collapse; air enters through seal | Significant leak—try different size |
⚠️ Important: A user seal check must be performed every time the respirator is donned—not just during fit testing.
Formal fit testing is conducted by a trained administrator using either qualitative or quantitative methods.
During fit testing, the worker performs a series of exercises that simulate workplace movements:
Despite best preparation, some workers may fail fit testing on a particular model or size.
| Reason | Solution |
|---|---|
| Facial hair (stubble) | Shave and retest |
| Incorrect donning | Retrain and retest |
| Wrong size | Try different size |
| Face shape incompatible with that model | Try different manufacturer/model |
| All sizes/models fail | Consider PAPR with loose-fitting hood |
✅ Junsee Group tip: Stock at least three sizes and two models of half masks. No single model fits everyone.
Shave all facial hair from the seal area (nose bridge, cheeks, chin, jawline)
Avoid heavy moisturizers or lotions on the face
Arrive clean-shaven (no stubble)
If QLFT (saccharin/bitrex), avoid eating, drinking (except water), or smoking for 30-60 minutes before test
Remove glasses, earrings, hats before donning
Pull long hair back away from seal area
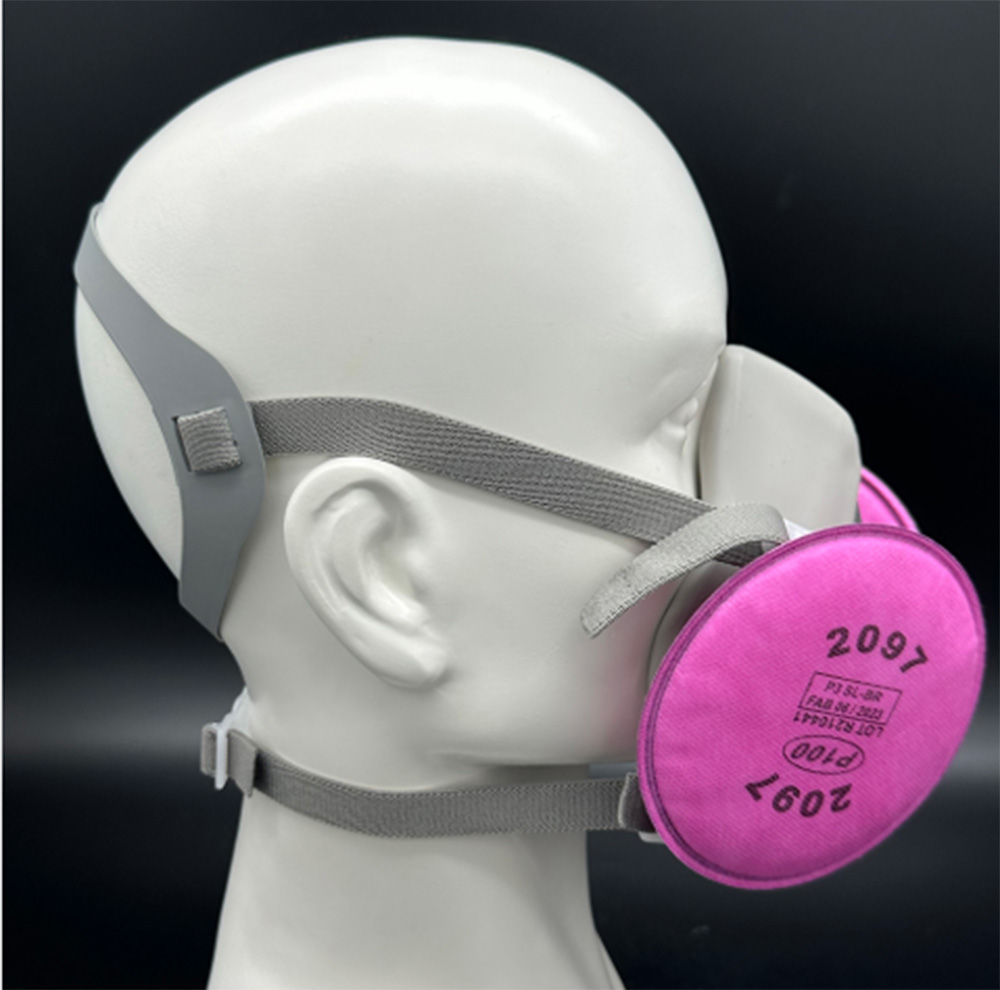
Correct filter cartridges installed (particulate filters for QLFT)
Respirator is clean and dry
Head harness straps are fully loosened
Worker tries at least 3 sizes
Worker wears each potential size for 5 minutes to assess comfort
Worker demonstrates correct donning
Worker performs user seal check
Fit test conducted according to protocol
Results recorded
Assign that specific respirator (model and size) to the worker
Record fit test date and results
Schedule next annual fit test
Provide worker with user seal check training
The bottom line: Determining the correct half mask size is not difficult—but it requires preparation, multiple sizes, and formal fit testing. Workers cannot guess their size. They cannot "make do" with the wrong size. Take the time to size correctly, train properly, and test annually. Your workers' health depends on it.
At Junsee Group, we provide:
✅ Half mask respirators in multiple sizes (S, M, L)
✅ Silicone and rubber material options
✅ Fit testing guidance and protocol support
✅ Replacement parts (valve flaps, head straps)
✅ Technical support for sizing and selection

Your email address will not be published. Required fields are marked